
Miscreated Server Manager
WindowsGSM Server Manager
Step 1
Setting up Miscreated server manager is super easy, after you have installed the Windows Game Server Manager . This one installs a little different because it requires a plug in. Download the plugin,
https://github.com/DoctorBeardz/WindowsGSM.Miscreated Click the CODE button and download the ZIP file.
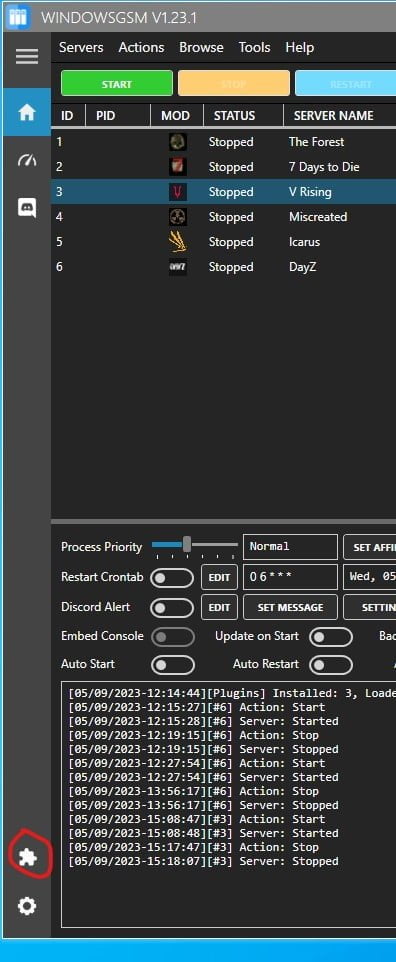
Simply go to the plug in button on the bottom left and click. A window will open up, you select import plugin, The plugin must be in Zip format, but you just downloaded it above. Select the file you just downloaded, it will import very fast and then show a card. Close this window and go to the upper left of the server manager, go to servers, install game server, select your plugin from the download list and give it a name. this is what shows up under server name on the main screen, and click install. BOOM DONE! Well almost, it will run right now, but unless you open the server ports you won’t be able to connect, plus you probably want to change the server name.
Note: If you do not have windows server manager, see this page WindowsGSM
Note: If you don’t want to leave your computer on all the time, another option is server hosting, I work together with G-Portal and Survival Servers. Mostly G-Portal but sometimes on popular games they can become full. G-Portal offers a discount If you use my link.


Step 2
Select the server, click the edit config button and this window will open up, under Server Start Param, Copy and paste the following code and change the name, to the server name you want listed.
-sv_port 64090 +sv_maxplayers 50 +map islands -mis_gameserverid 100 +sv_servername Survival Gaming Club
Step 3
Open ports
64090 – 64095 UDP and TCP
If you don’t know how to forward ports in your router, this page should have everything you need. It is quiet easy to do if you have the username and password to the router.
Port Forwarding.com is the best resource I have found, Click this link and find your router to learn how to forward ports.
Step 4
Server Configuration,
Download This hosting File (text)
At the top of Windows Server Manager under Browse/Server Files, which opens windows file explorer and automatically locates your server files.
Copy the downloaded hosting file into the now open file window, edit the file with note++ and save it as a Hosting.cfg. Change anything you need to, in order to get your server to your liking.
As always I recommend using Note++ to edit any config file.
Note: Other than the name change most people probably won’t have to change any of these settings.
You can change these options
Options
sv_servername=”my cool miscreated Server”
http_password=”v8ufo”
g_pinglimit=”0″
g_pingLimitTimer=”15″
g_gameRules_Camera=”0″
wm_disable=”0″
wm_timeScale=”1″
wm_timeScaleWeather=”1″
wm_timeScaleNight=”4″
wm_timeOffset=”0″
wm_forceTime=”-1″
maxplayers=”25″
sv_noBannedAccounts=”0″
sv_maxuptime=”12″
sv_motd=”Welcome to your cool server”
sv_url=”https://Survialgamingclub.com”
sv_msg_conn=”0″
sv_msg_death=”0″
g_gameRules_bases=”1″
g_playerHealthRegen=”0.111″
g_playerFoodDecay=”0.2777″
g_playerFoodDecaySprinting=”0.34722″
g_playerWaterDecay=”0.4861″
g_playerWaterDecaySprinting=”0.607638″
g_playerInfiniteStamina=”0″
g_craftingSpeedMultiplier=”1″
asm_disable=”0″
asm_percent=”33″
asm_maxMultiplier=”1″
asm_hordeCooldown=”900″
pcs_maxCorpses=”10″
pcs_maxCorpseTime=”1200″
steam_inventory_enable=”0″
steam_ugc=””
ism_percent=”20″
ism_maxCount=”750″
as_corpseCountMax=”20″
as_corpseRemovalTime=”300″
g_playerWeightLimit=”40″
g_maxHealthMultiplier=”1″
Note: If you don’t want to leave your computer on all the time, another option is server hosting, I work together with G-Portal and Survival Servers. Mostly G-Portal but sometimes on popular games they can become full. G-Portal offers a discount If you use my link.