How to install a valheim server on a seperate computer to use as a server.
Note: If you don’t want to leave your computer on all the time, another option is server hosting, I work together with G-Portal and Survival Servers. Mostly G-Portal but sometimes on popular games they can become full. G-Portal offers a discount If you use my link.
Step 1
Host Valheim server manager is super easy, after you have installed the Windows Game Server Manager . This one installs a little different because it requires a plug in. Download the plugin,
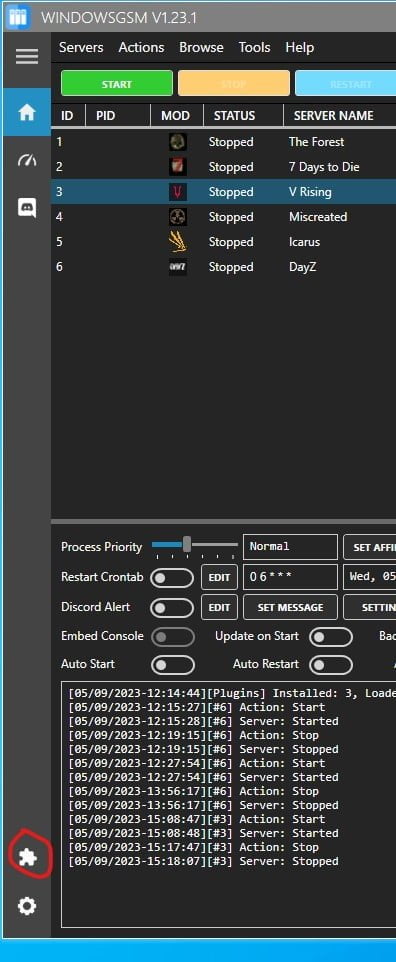
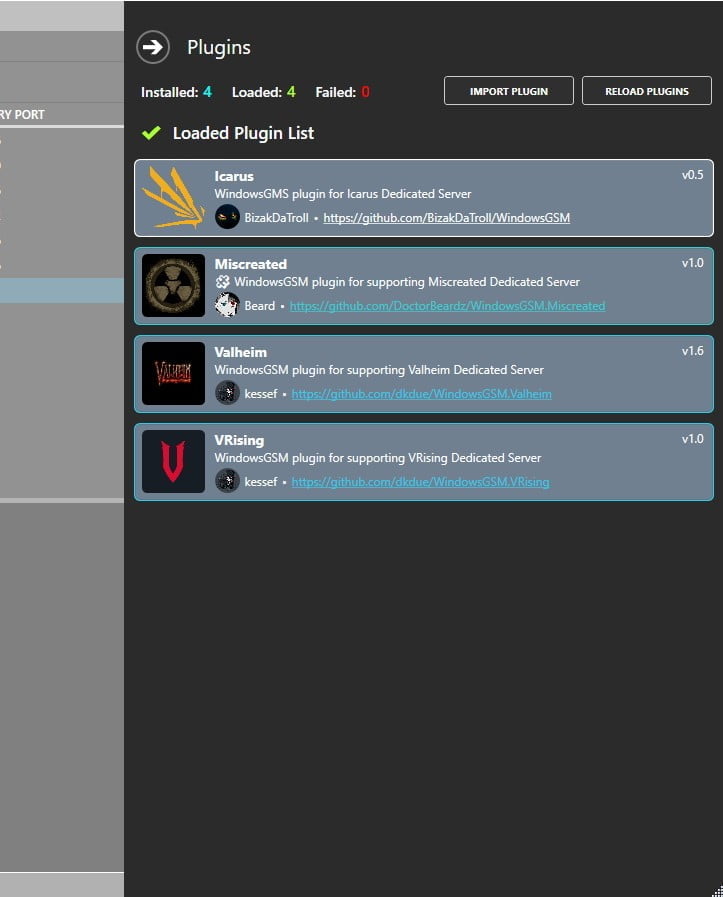
Simply go to the plug in button on the bottom left and click. A window will open up, you select import plugin, The plugin must be in Zip format, but you just downloaded it above. Select the file you just downloaded, it will import very fast and then show a card. Close this window and go to the upper left of the server manager, go to servers, install game server, select your plugin from the download list and give it a name. this is what shows up under server name on the main screen, and click install. BOOM DONE! Well almost, it will run right now, but unless you open the server ports you won’t be able to connect, plus you probably want to change the server name.
Note: If you do not have windows server manager, see this page WindowsGSM
Step 2
Select the server, click the edit config button and this window will open up, under Server Star Param, Copy and paste the following code and change the name, to the server name you want listed.
Edit the save file to your location, You should be able to change the drive letter and server number if you have no preference and your files will save with the rest of your server.
NOTE: Password must be 5 characters or more
Step 3
Open ports
2456
2457
If you don’t know how to forward ports in your router, this page should have everything you need. It is quiet easy to do if you have the username and password to the router.
Port Forwarding.com is the best resource I have found, Click this link and find your router to learn how to forward ports.
Select the server, Click on edit config, (upper left corner of lower left window). Make all config changes under the Server Start Param
Note: Server configuration webpages will direct you to change the Start_headless_server File, DO NOT it does nothing. Just edit the above mentioned field.
There is a file called, wait for it, SERVER. Right Click and edit this file with notepad or notepad+
As always I recommend using Note++ to edit any config file.
Note: Other than the name change most people probably won’t have to change any of these settings.
You can change these options
Options
There are not any real options I could find for the config file.
Note: If you don’t want to leave your computer on all the time, another option is server hosting, I work together with G-Portal and Survival Servers. Mostly G-Portal but sometimes on popular games they can become full. G-Portal offers a discount If you use my link.
You don’t need to leave an email in order to comment.