How to set up your Fear the Night Dedicated Server
Fear The Night Server Setup
Want to host a Fear the Night dedicated Server? What about an Fear the Night private server? Maybe even a Fear the Night Nondedicated Server, Good News you came to the right place. For the purposes of this article All these things will be considered the same thing, these instructions are for those that want to setup their own private server on an extra pc.
Technical Warning
Fear the Night can be installed on a standard windows machine, despite what you read, it works just fine. You will also need knowledge of dynamic vs static ip’s and port forwarding. These things can be set in windows and some in your router, you will need your router username and password. If you are unsure about performing these yourself you can review the steps in the post on the right.
Note: If you don’t want to leave your computer on all the time, another option is server hosting, I work together with G-Portal and Survival Servers. Mostly G-Portal but sometimes on popular games they can become full. G-Portal offers a discount If you use my link.
Things to Know
How many players you plan to have will greatly effect your experience. Most people are looking to setup something for just a couple of their friends or even solo, and that is the main focus of this information.
Bandwidth, your upload speed, will affect how many people can play on your server, generally for every 1mb upload speed you can support 2 players. Also remember anyone using your internet connection while you are playing will effect this. If you are setting this up on your home lan for single player, you do not have to worry about bandwidth.
There are no specs for Fear the Night, based on normal unreal engine specs you should have the following.
Ram usage, You will need a minimum of 8GB but 16GB is recommended.
CPU, You will need at least 2 cores running at 3.0 ghz or faster, in todays world you will have to hunt to find something this slow. (reference) I have personal run ark on a I7- 4700 laptop on my lan and it was a flawless experience.
GPU, there are no requirements for a GPU (graphics processor) as a server does not draw on a monitor screen, it simply runs in the background.
Storage, You will need at least 20GB of diskspace, This will increase depending on the number of players, server data, saves, backups etc. Storage is cheap so this shouldn’t be an obstacle for most people. Also it is highly recommended to use an SSD.
Pay Options
If you don’t want to run your own old computer for a server, you can pay for a service. They are extremely affordable especially if you don’t already have the hardware or are low on bandwidth. Companies such as Gportal have services worldwide.
NOTE: THE FOLLOWING SCREENSHOTS SHOW ICARUS IMAGES, INSTEAD OF FEAR THE NIGHT EVERYTHING IS EXACTLY THE SAME OTHERWISE.
Step 2
Extract the Steamcmd file to the folder you want your Fear the Night server to be located in. For this example I will be using the file exactly as provided.
D:\Fearthenightserver
Copy the Fear The Night.txt file into this folder
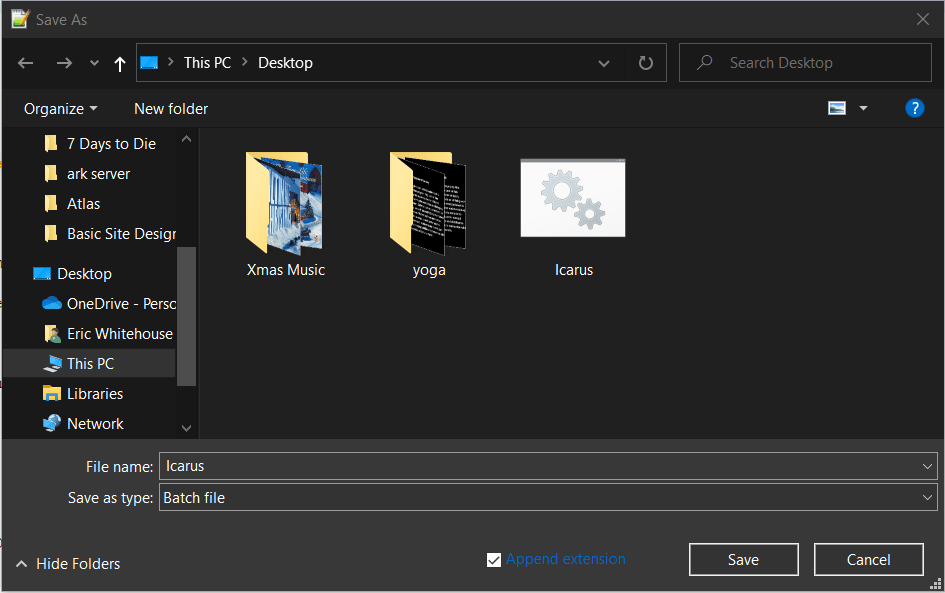
Right click on the file and edit the Fear the Night.txt file with note++, on line 31 change the -sessionname= to the name you prefer.
Save as type: Batch file
Copy the batch file to your Fearthenightserver folder
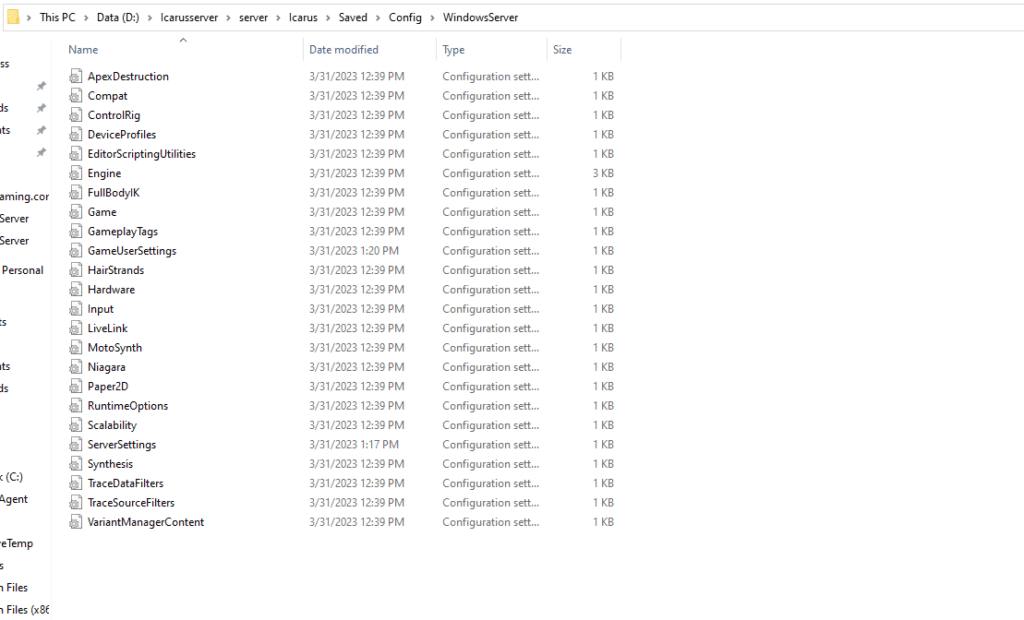
Your folder should look like the following.
Note: Make sure if you need or want to change the install location you edit the Fearthenight.batch file to match, You will need to edit the first 3 lines that contain the drive letters inside the batch file.
Step 3
Create a shortcut to the fearthenight batch file on your desktop. Right click and run as administrator.
Step 4
Wait, Your files will be automatically downloaded and your server will start.
After Clicking install you will get the following download screen, until the server files are fully downloaded.
Step 5
Close this window and (Ctrl-Alt-Del) to open the task manager and close Fear the Night.
Step 6
Now we will need to get the server administration setup.
The server manager already has the correct ports listed you will need to go into your router and allow the server IP to use the ports.
Ports
game port 7778
query port 27015
Before assigning ports in your router make sure to setup a static ip address. Ports will be forwarded according to your ip and on a dynamic ip your address could change every time your pc restarts breaking your server.
Port Forwarding.com is the best resource I have found, Click this link and find your router to learn how to forward ports.
When you start your game, after selecting a character, navigate to the lan tab to locate your server, it will also be in the internet tab but there are over 1000 servers so it’s easier to locate in lan. When your server doesn’t show and it states its running, I always start with a shutdown of the server and a restart. Servers of any kind can be very goofy. If the server doesn’t show after a second startup check your port forwarding first, that is the most common issue.
When that doesn’t solve the problem start at the top of this page, go slow and make sure you didn’t miss any steps
Note: If you don’t want to leave your computer on all the time, another option is server hosting, I work together with G-Portal and Survival Servers. Mostly G-Portal but sometimes on popular games they can become full. G-Portal offers a discount If you use my link.
You don’t need to leave an email in order to comment.