How to set up your Conan Exiles dedicated Server
Conan Exiles Server Setup
Want to host an Conan Exiles dedicated Server? What about a Conan Exiles private server? Maybe even an Conan Exiles Dedicated Server, Good News you came to the right place. For the purposes of this article All these things will be considered the same thing, these instructions are for those that want to setup their own private server on an extra pc. Honestly I could have just refered you to the Ark dedicated server page, but I wanted the links and pictures to be accurate, very little is different.
Technical Warning
Conan Exiles can be installed on a standard windows machine, despite what you read, it works just fine. You will also need knowledge of dynamic vs static ip’s and port forwarding. These things can be set in windows and some in your router, you will need your router username and password. If you are unsure about performing these yourself you can review the steps in the post on the right.
Things to Know
One of the best benefits of creating your own Conan Exiles server is that you can use mods to create your own experience.
How many players you plan to have will greatly effect your experience. Most people are looking to setup something for just a couple of their friends or even solo, and that is the main focus of this information.
Bandwidth, your upload speed, will affect how many people can play on your server, generally for every 1mb upload speed you can support 2 players. Also remember anyone using your internet connection while you are playing will effect this. If you are setting this up on your home lan for single player, you do not have to worry about bandwidth.
Ram usage, You will need a minimum of 8GB but 16GB is recommended.
CPU, You will need at least 2 cores running at 3.0 ghz or faster, in todays world you will have to hunt to find something this slow. I have personal run ark on a I7- 4700 laptop on my lan and it was a flawless experience.
GPU, there are no requirements for a GPU (graphics processor) as a server does not draw on a monitor screen, it simply runs in the background.
Storage, You will need at least 20GB of diskspace, This will increase depending on the number of players, tames, saves, backups etc. Storage is cheap so this shouldn’t be an obstacle for most people. Also it is highly recommended to use an SSD.
Pay Options
If you don’t want to run your own old computer for a server, you can pay for a service. They are extremely affordable especially if you don’t already have the hardware or are low on bandwidth. Companies such as Gportal have services worldwide.
Step 1
Download and Install net framework 4.6.2 (or higher) Here
Follow this link to download the Conan Server Manager, This is the best software I have used by far to manage Conan Exiles.
Download the ConanServermanager file
Choose either the Zip or the EXE file.
Step 2
Once Downloaded Click on the EXE to run the setup
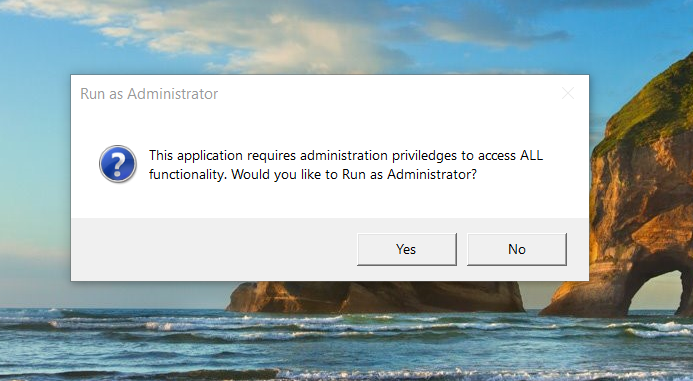
Click Run as Administrator

Choose the install drive, name and Location and Click Okay, and simply follow the onscreen prompts.
(asm will install and close and you will need to restart it)
Step 3
Restart the Conan Server Manager and Click the green plus button on the upper left.
Step 4
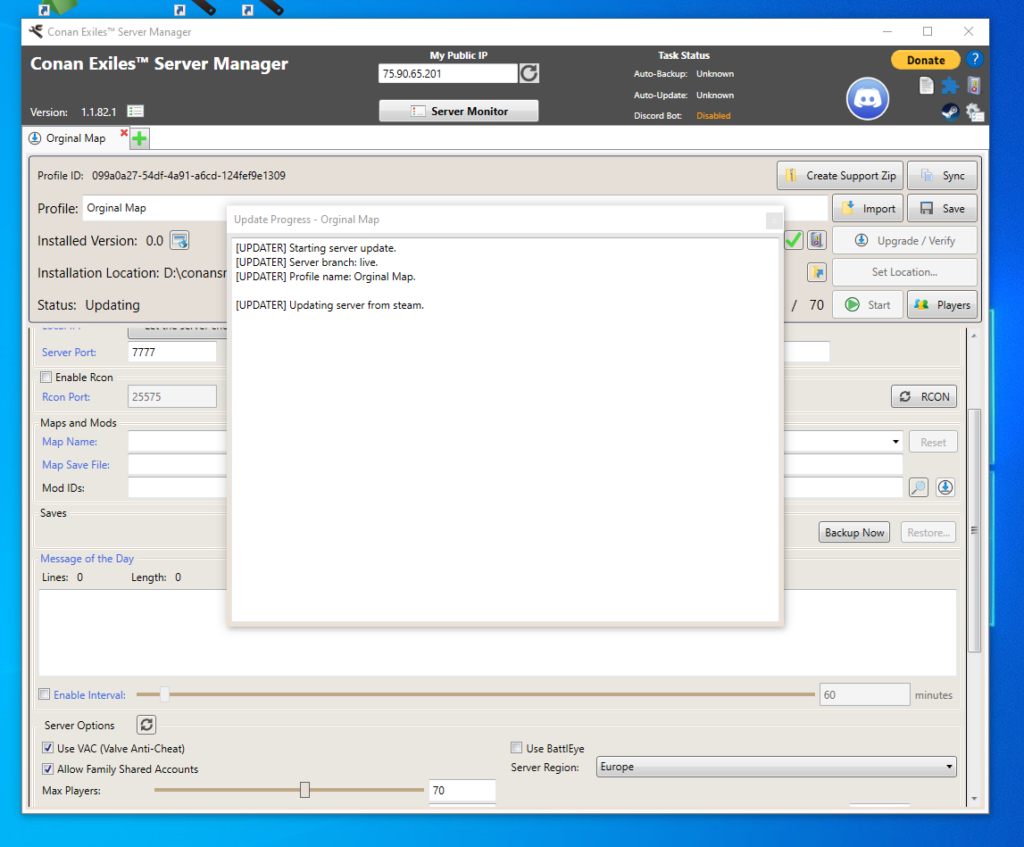
Name the profile, I find it best to use the map name here, as you will be able to play on either map and it is easier to keep them seperated.
Set Location, simply where you want the Conan files to be located, I use the default.
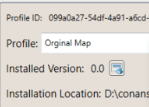
Note: the installed version currently shows 0.0 because at this point you have simply installed the manager and have not actually installed the server files yet. Clicking the Install button installs Conan files via steam.
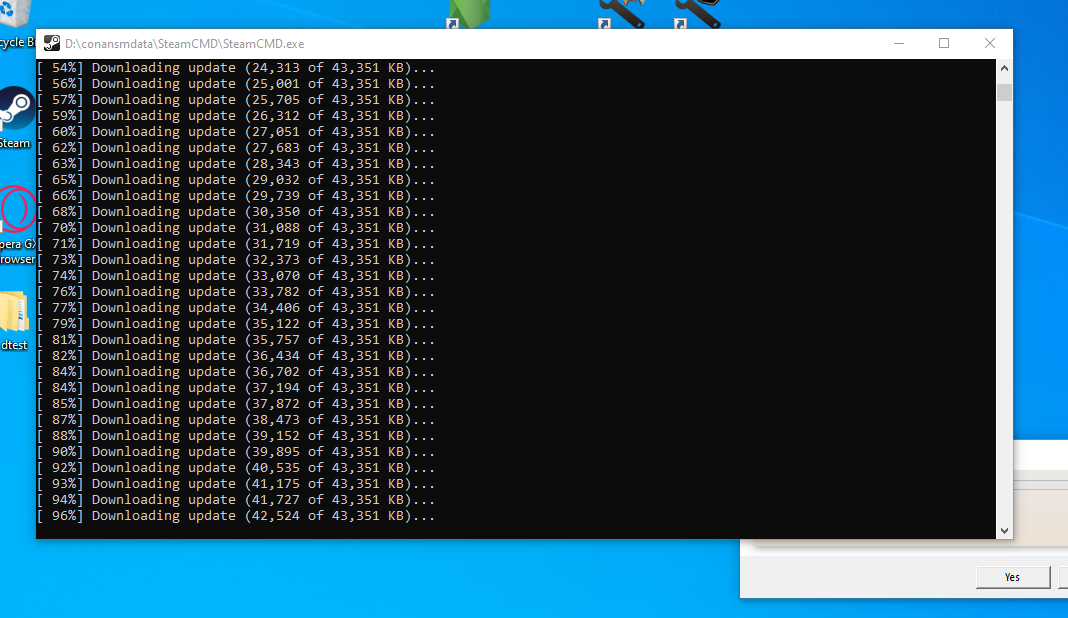
After Clicking install you will get the following download screen, until the server files are fully downloaded.
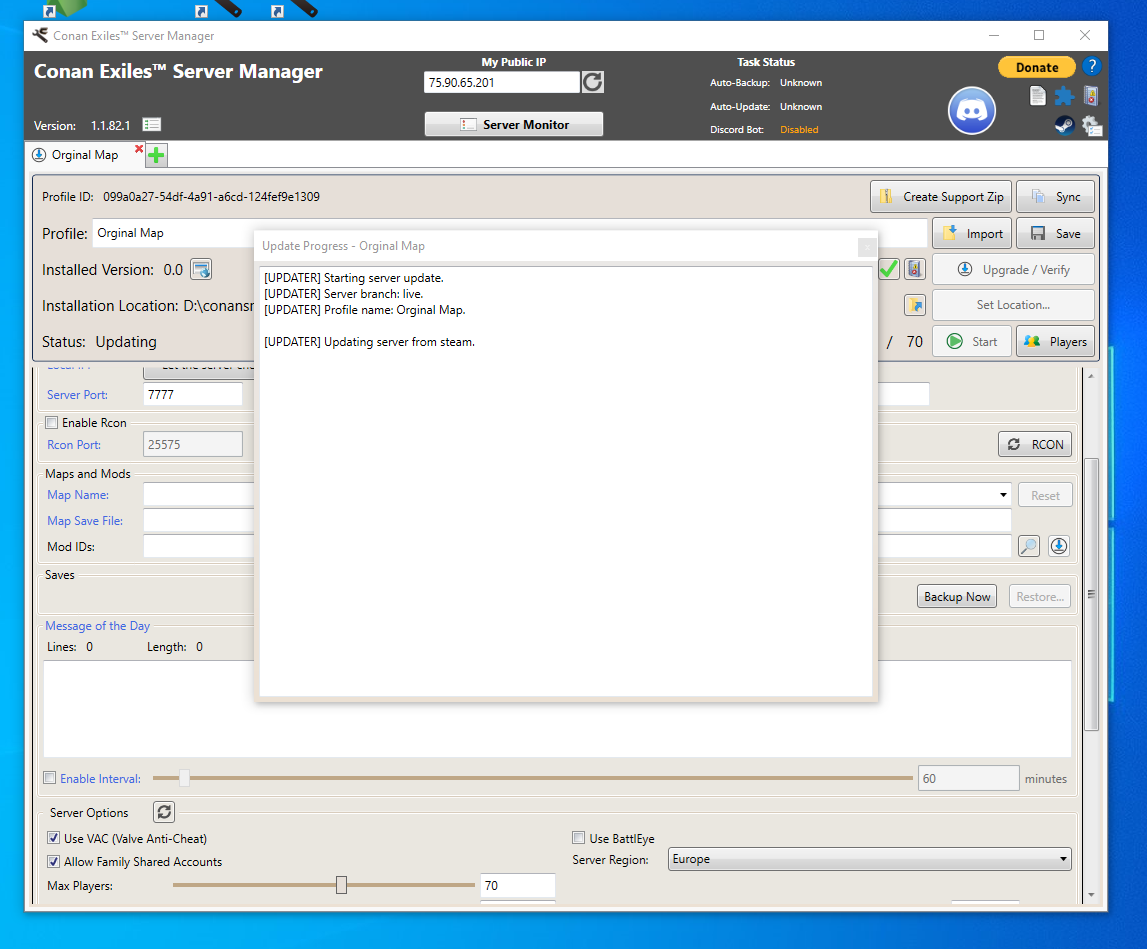
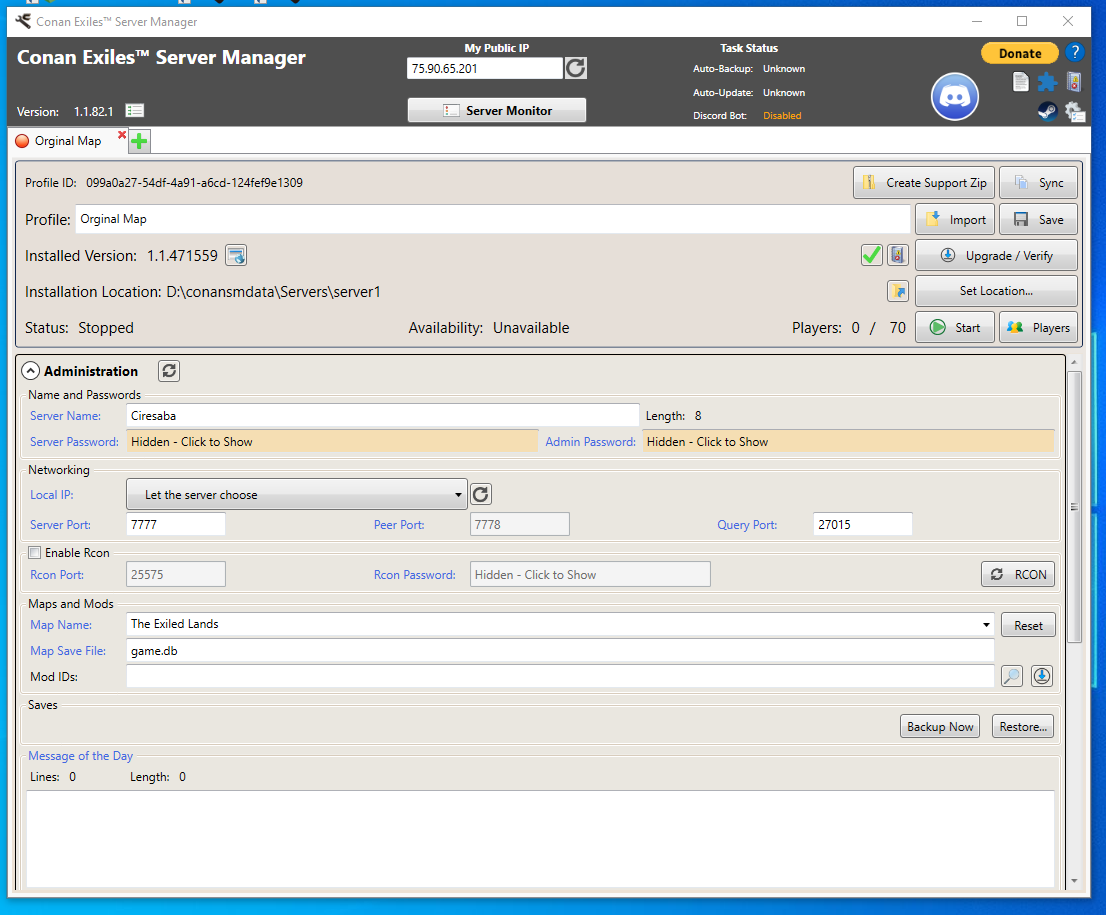
Now you will have the Installed game version listed in this case 1.1.47 or higher
Step 5
Now we will need to get the server administration setup. This would normally be the hard part, but Conan Server Manager makes it very easy.
The server manager already has the correct ports listed you will need to go into your router and allow the server IP to use the ports.
Ports 7777 and 7778 and 27015
Note; if you have already setup an Ark Survival evolved server these ports should be set in your router already.
Before assigning ports in your router make sure to setup a static ip address. Ports will be forwarded according to your ip and on a dynamic ip your address could change every time your pc restarts breaking your server.
Port Forwarding.com is the best resource I have found, Click this link and find your router to learn how to forward ports.
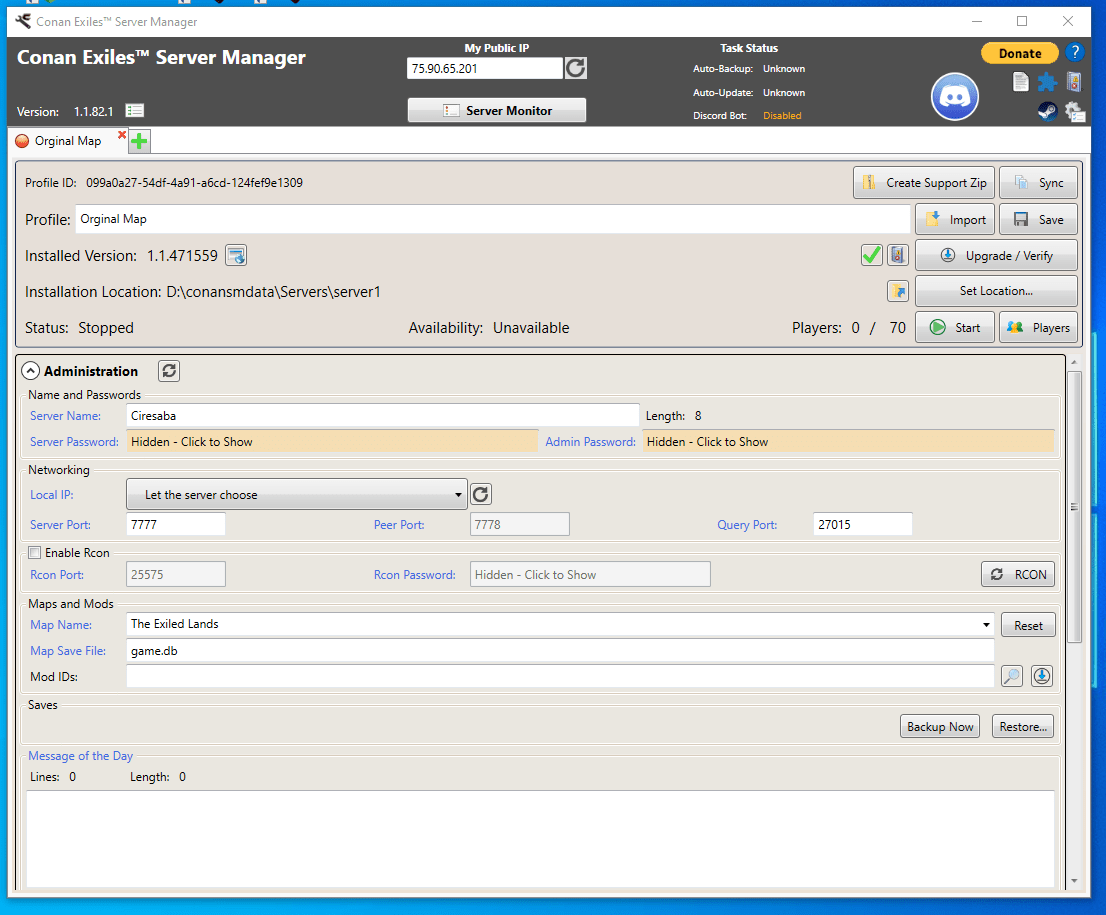
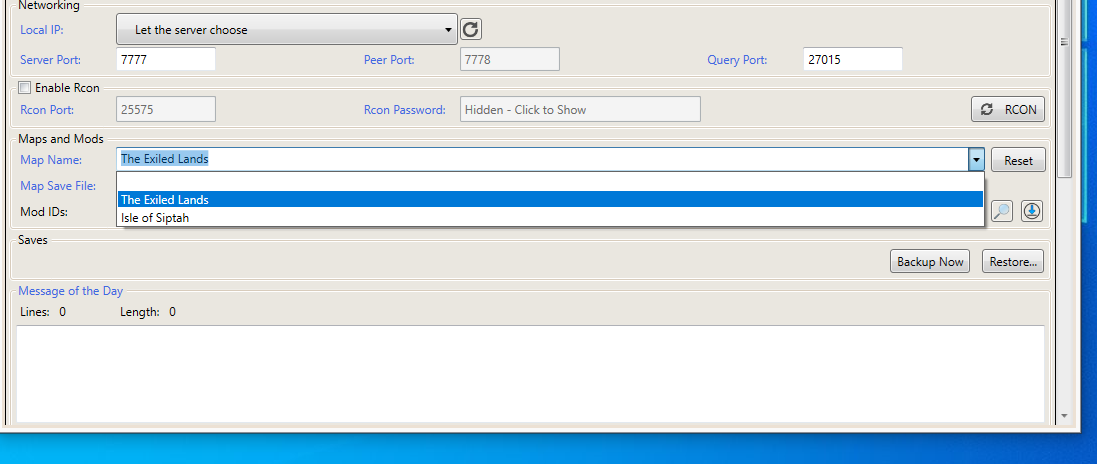
Now that you have your ports forwarded and have setup a dynamic ip, you simply need to select a map, and hit the start button. Depending on the computer it can take a very long time to start your server the first time, even upwards of 20 minutes, Mine took maybe a minute the first time. You will get a message on the screen that the server has started so until you see that just keep waiting.
Issues
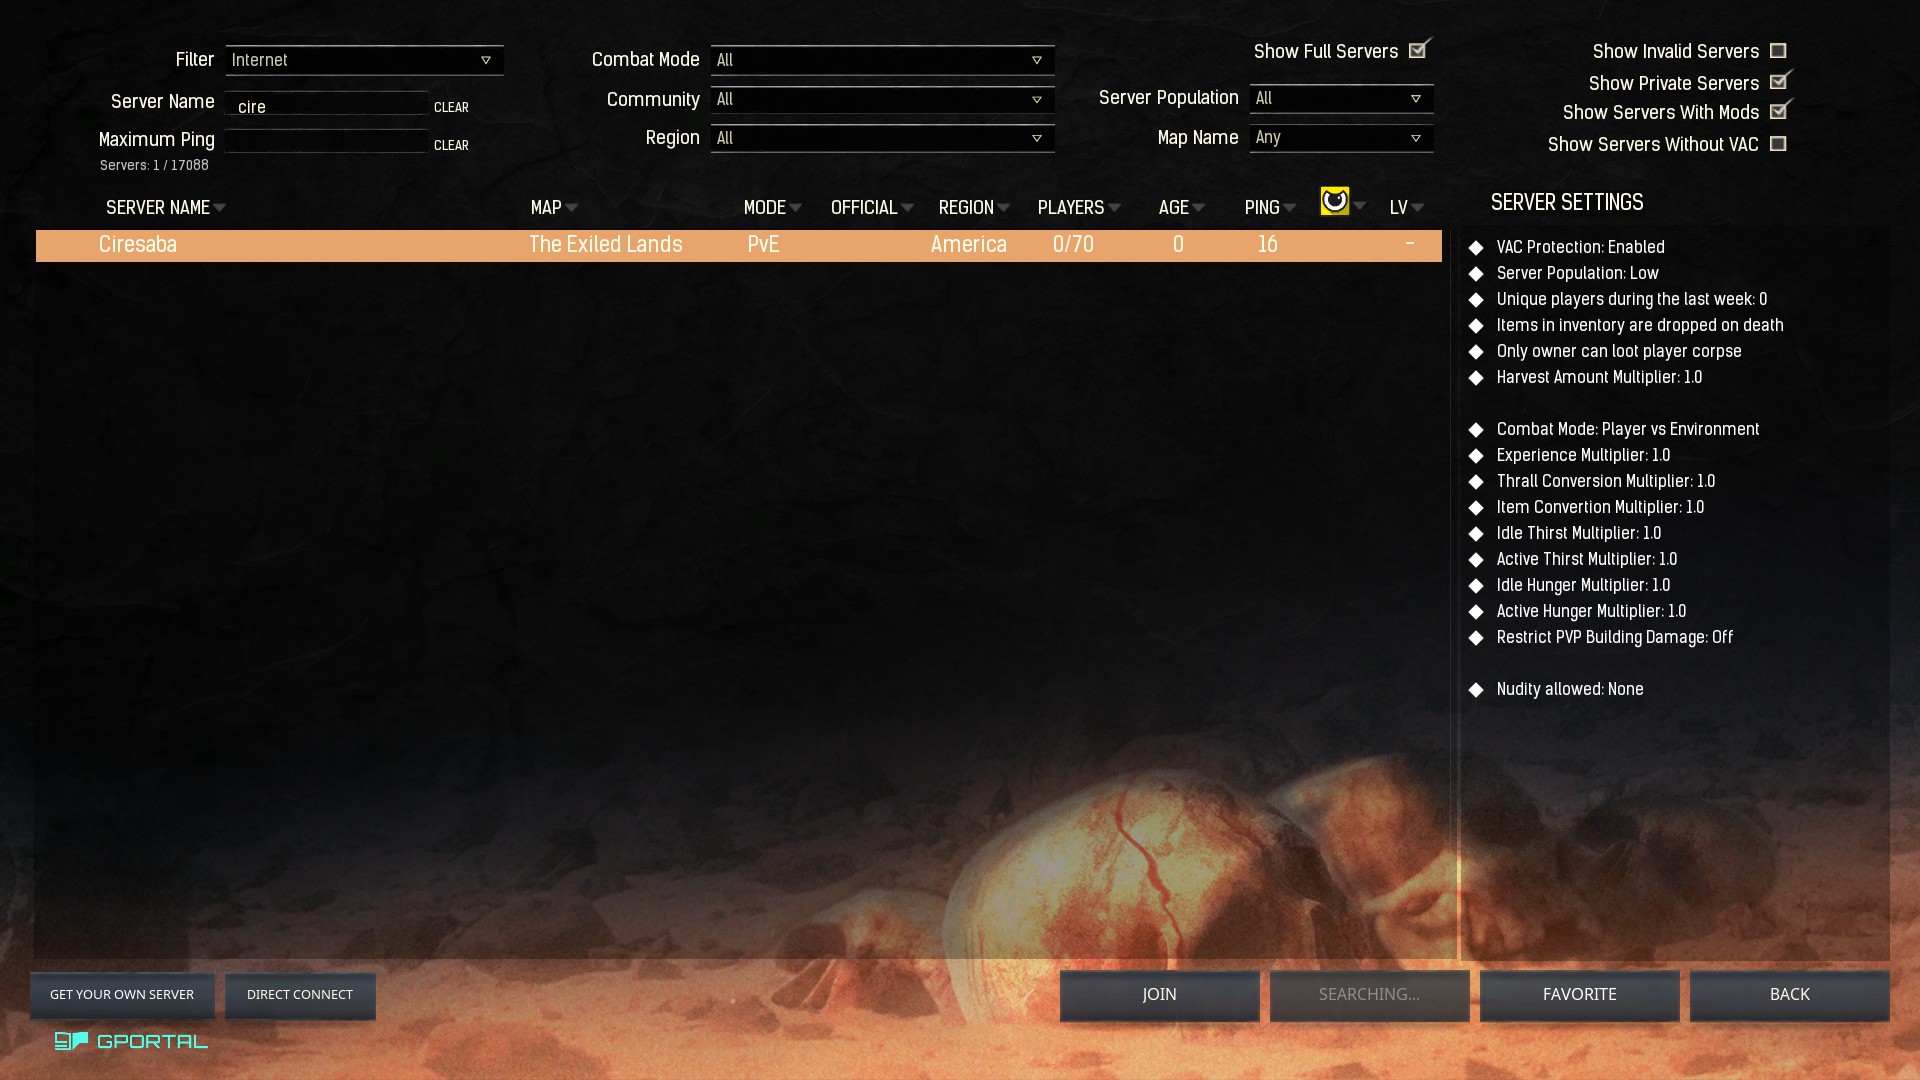
When you start your game in the top left of the screen search for your server by name and your server will show up, if it doesn’t show and it states its running, I always start with a shutdown of the server and a restart. Servers of any kind can be very goofy. If the server doesn’t show after a second startup check your port forwarding first, that is the most common issue.
When that doesn’t solve the problem start at the top of this page, go slow and make sure you didn’t miss any steps, and also check Arkservermanager.
